👥 Create a Team
Creating a Team on xMagic
Creating a team in xMagic allows you to collaborate with colleagues and manage projects efficiently. Follow these steps to set up your team and assign roles.
Step 1: Access Team Settings
Log in to your xMagic account.
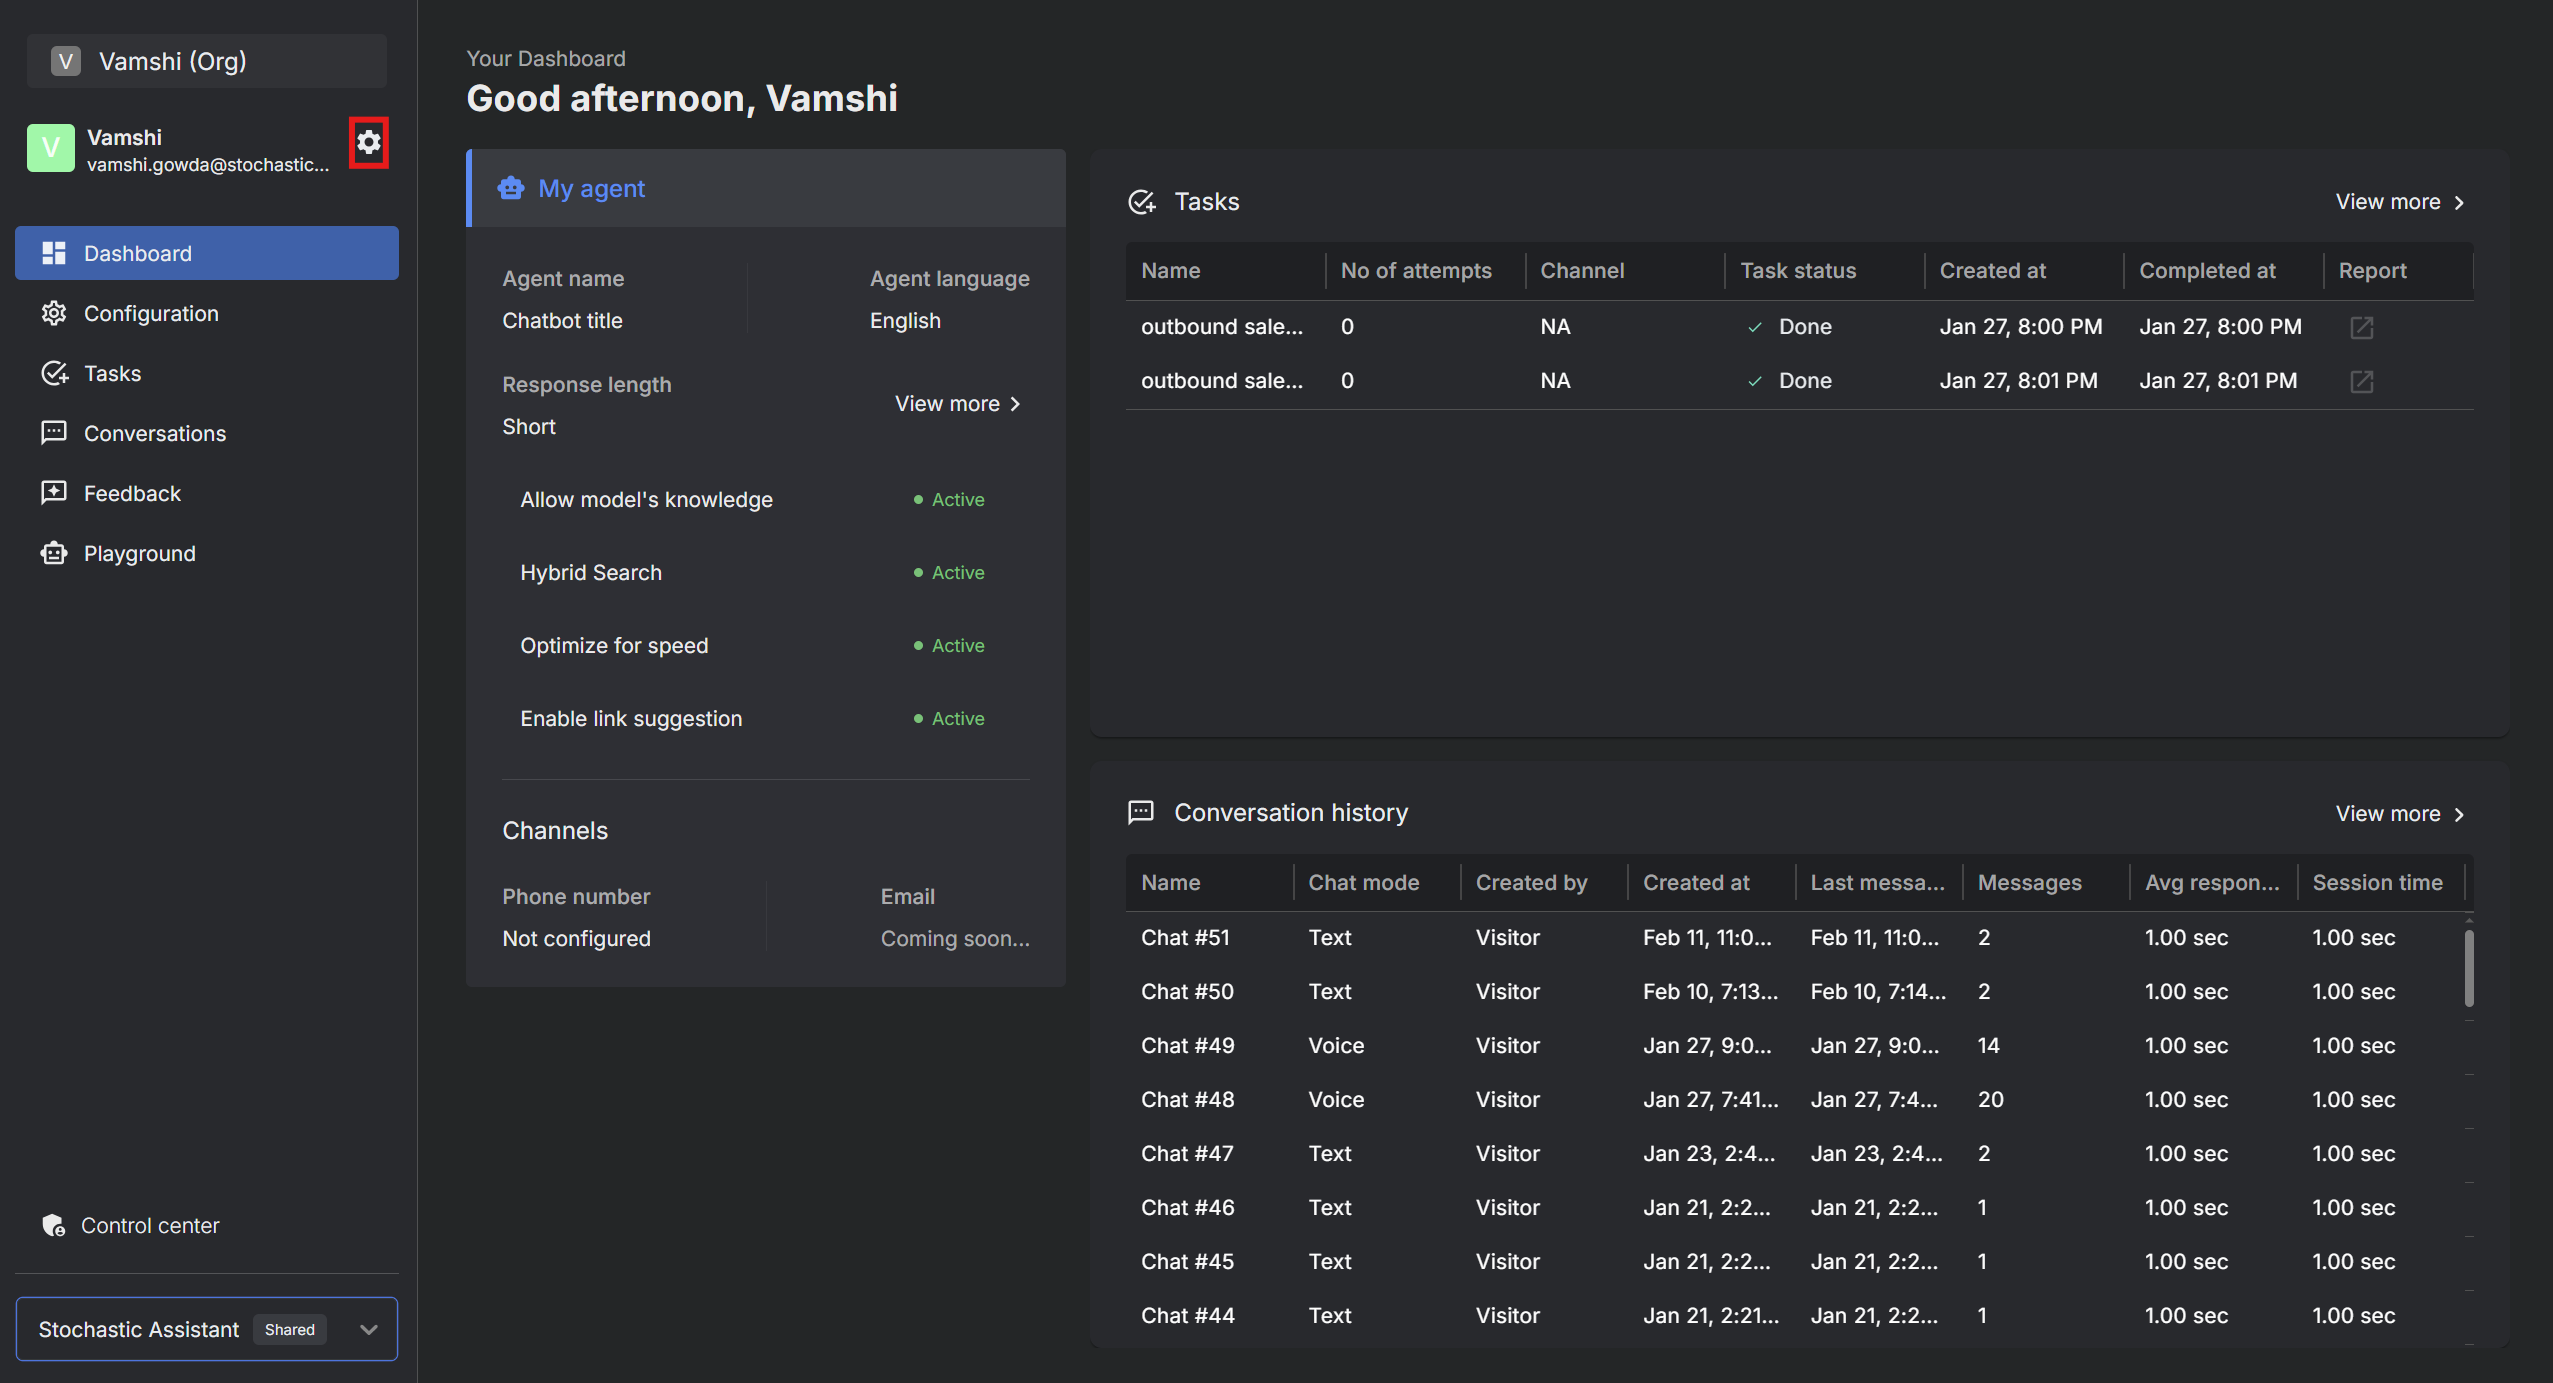
Navigate to the settings menu by clicking the gear icon in the lower left corner of the dashboard.
Step 2: Manage Team Members
In the settings menu, select the "Organization" tab.
Click on "Manage members" to view or edit your team members.
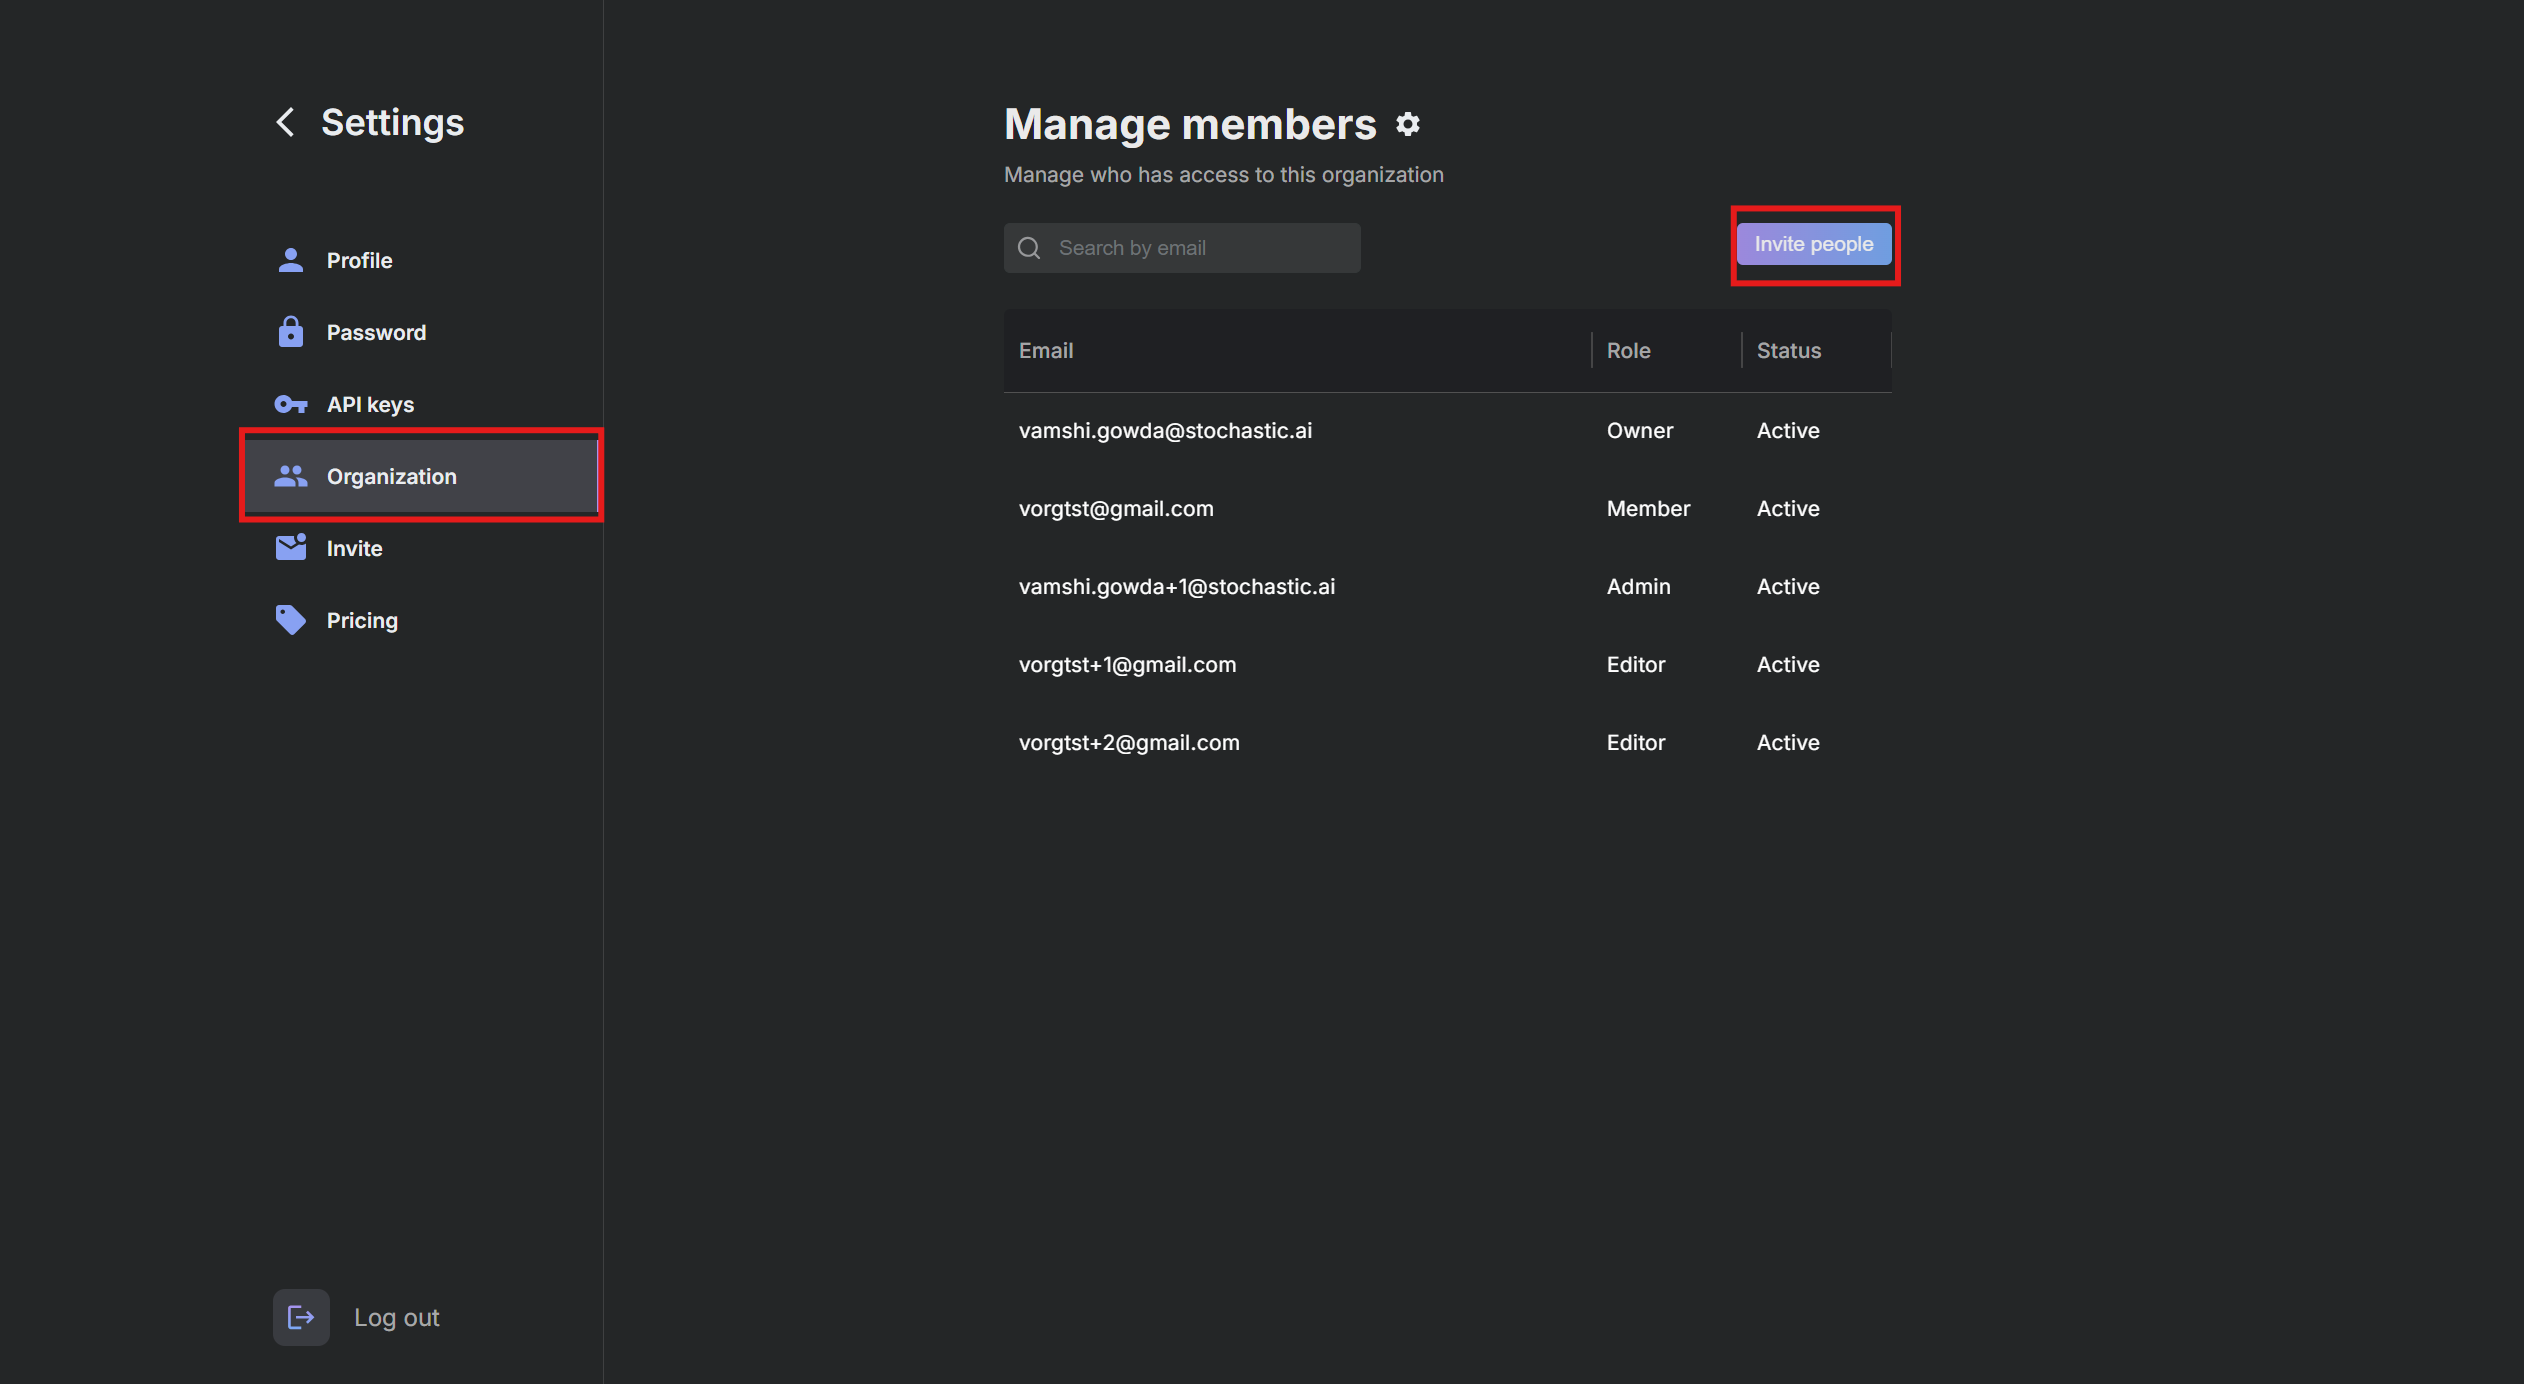
Step 3: Invite Team Members
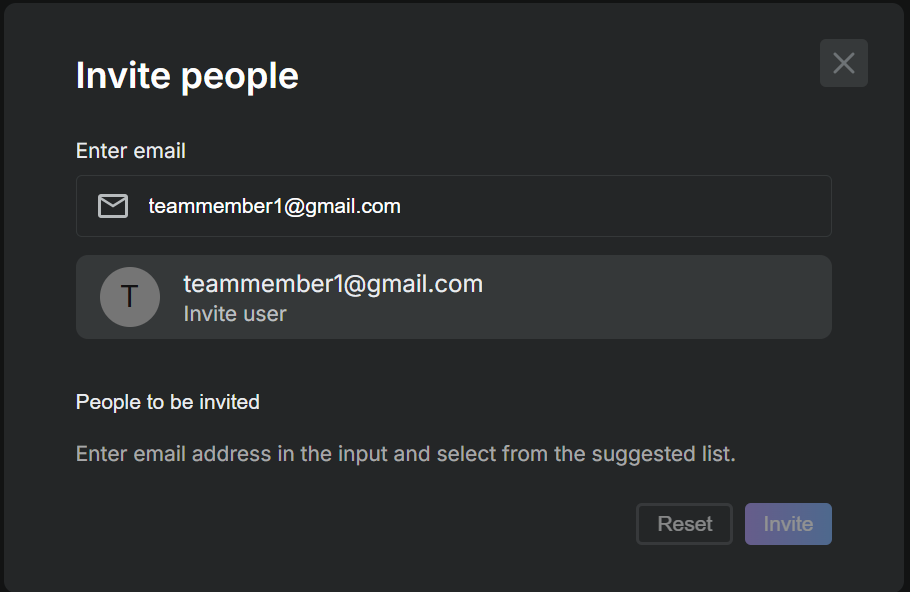
Click the "Invite people" button to add new members to your team.
Enter the email addresses of the team members you wish to invite.
Assign a role (Admin, Editor, or Member) to each new member as you invite them.
Step 4: Specify Role Permissions
After inviting team members, you can customize their permissions based on their role.
Click on a member's role to edit and save their permissions settings.
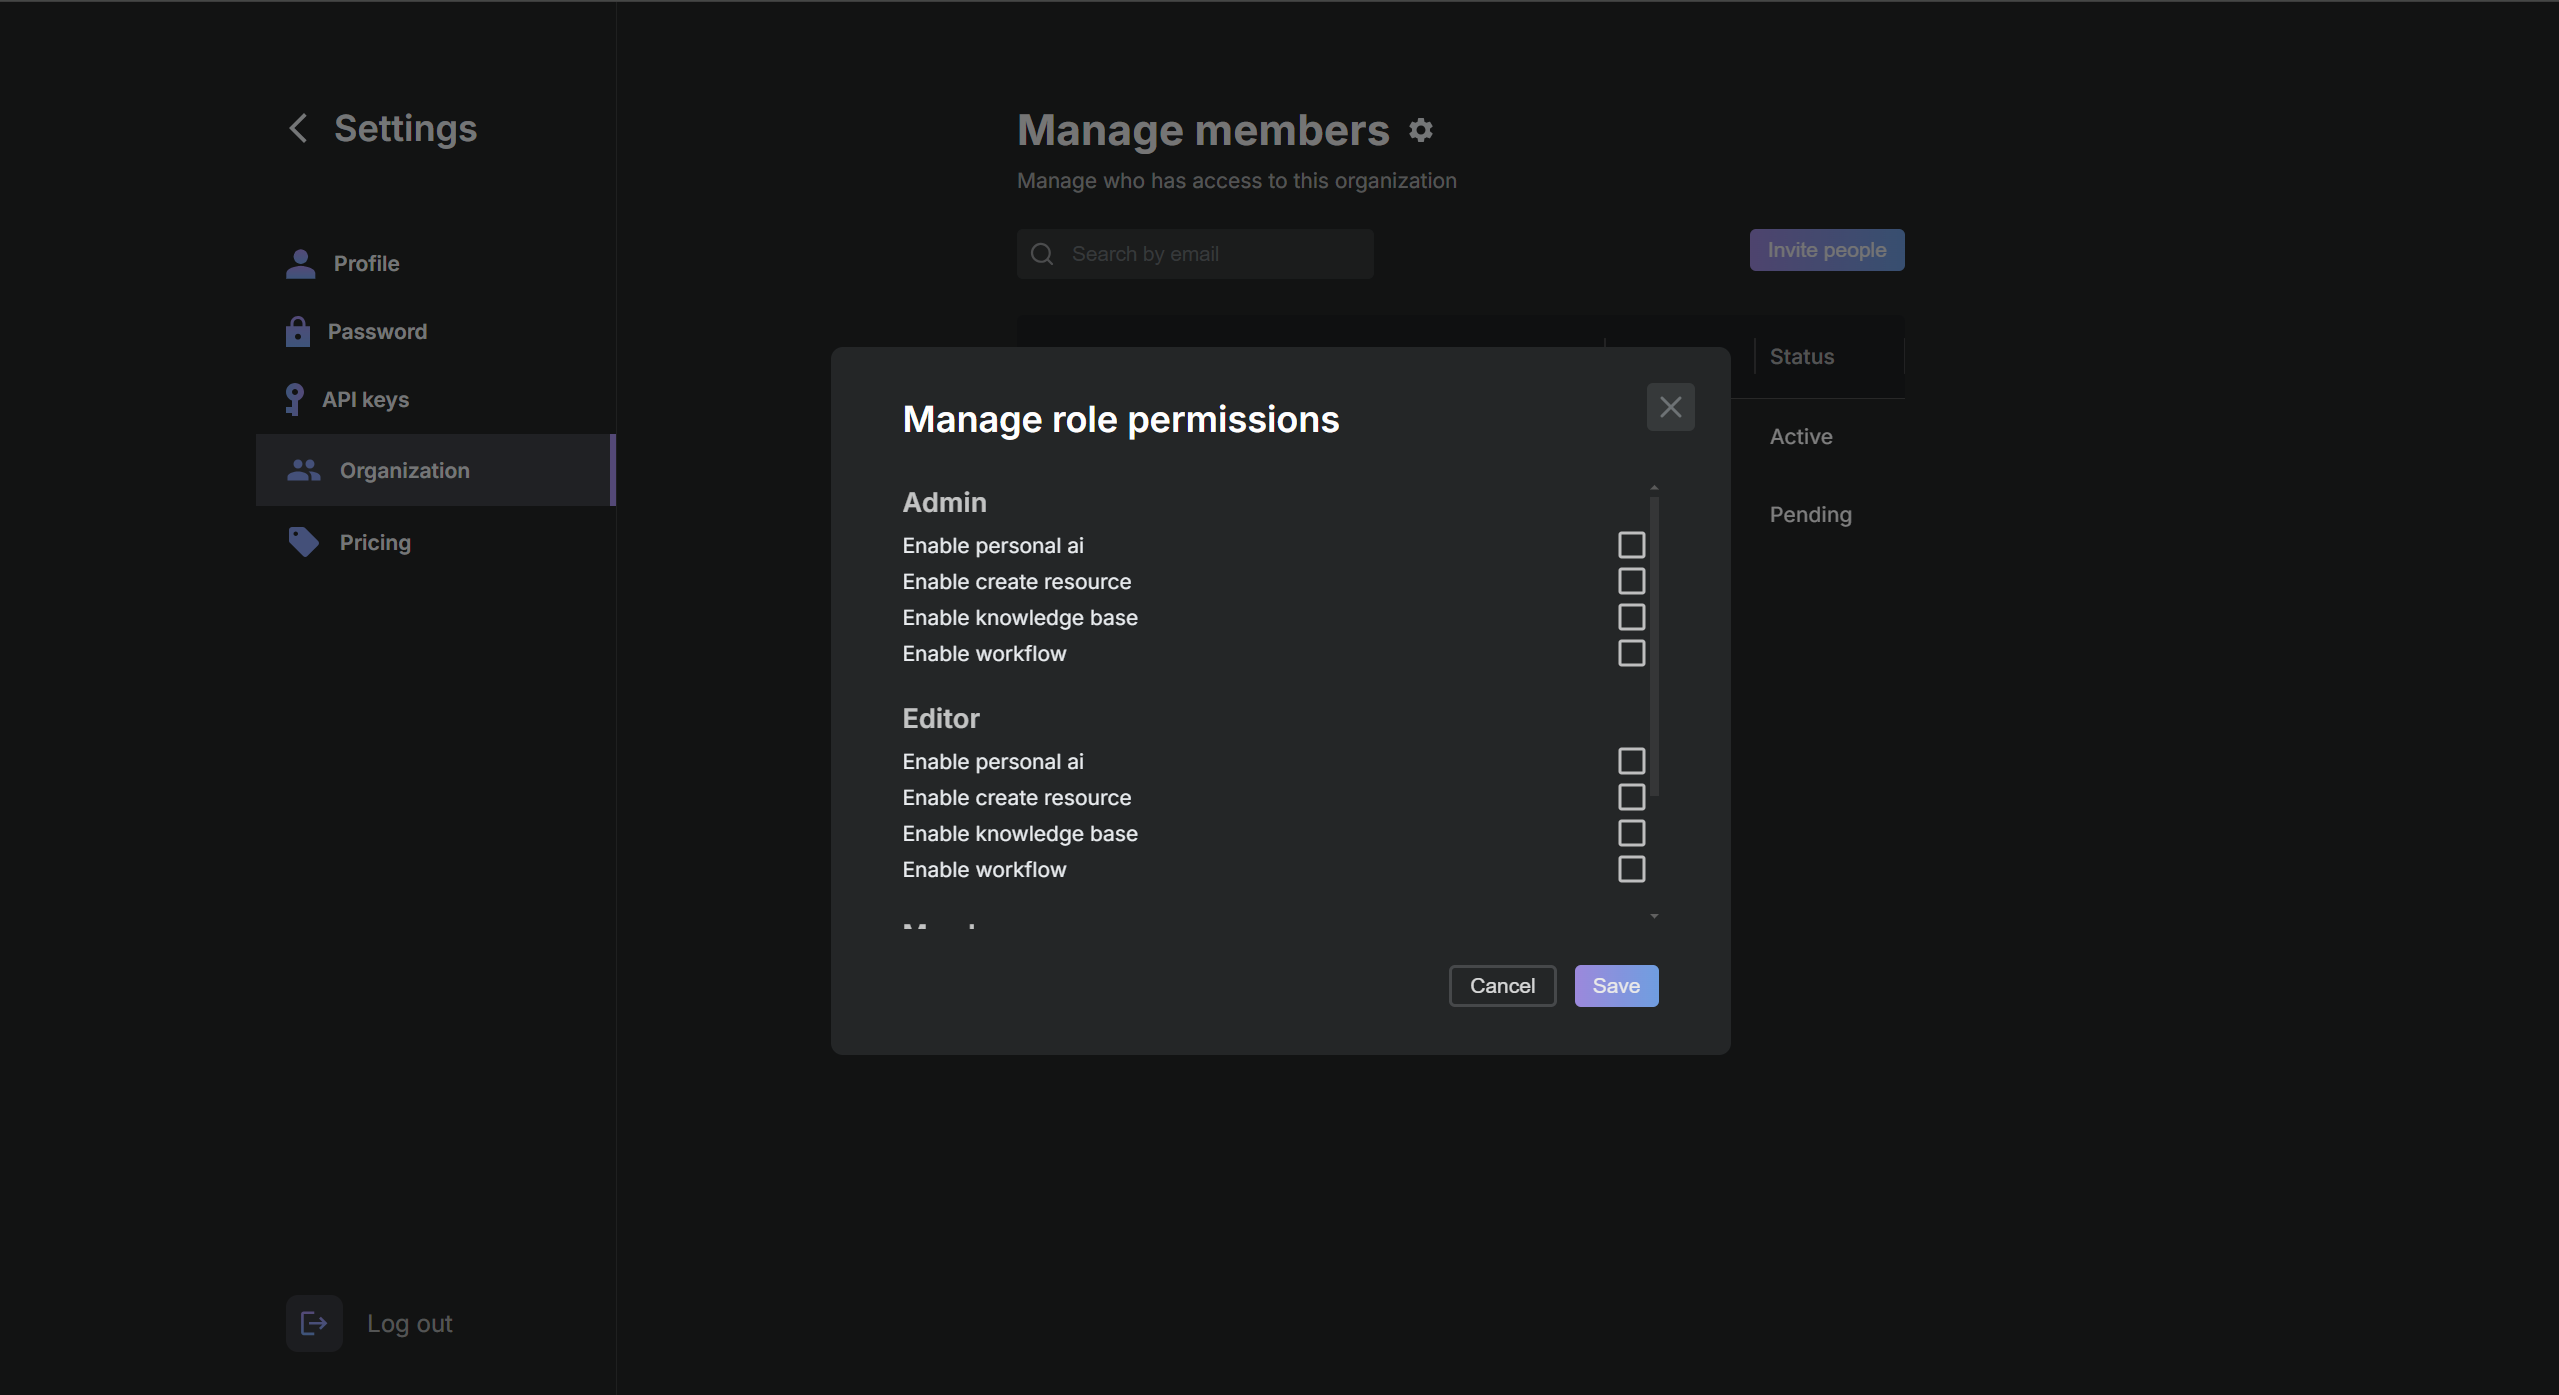
Step 5: Finalize and Confirm
- Review all settings and roles assigned to ensure they meet your project’s needs.
- Click "Save" to apply the changes.
Step 6: Switching Between Organizations
If you are a member of multiple organizations, you can easily switch between them:
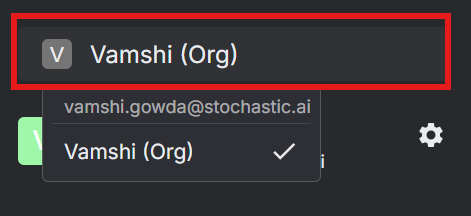
Click on your organization name at the top of the sidebar.
A dropdown menu will appear listing all the organizations you are a part of.
Select the organization you wish to switch to from the dropdown menu.
Note: Changes in team settings and roles take effect immediately, and all members will receive an email notification regarding their role and permissions.